FOUNDING-MEMBER PRICING — Save Up To $1,000
All Posts
Guide6 min read2026-04-27

How to Set Up a Slatmill: Space, Assembly, and First Session

How to Set Up a Slatmill: Space, Assembly, and First Session

Your slatmill is arriving. Before it shows up, you need to know: where does it go, how do you assemble it, and what does the first session look like?

Space Requirements

Minimum Space

  • Large slatmill: 8' x 4' of clear floor space (the mill is ~76" x 20", plus room around it)
  • Medium slatmill: 7' x 4' (mill is ~62" x 20")
  • Ceiling height: Minimum 7'. The mill plus side rails is about 5' tall — your dog needs headroom.
  • Clearance: 2' on each side, 3' behind (so you can stand behind/beside the dog)
  • Best Locations

  • Garage — most common. Concrete floor, plenty of space, easy to clean
  • Basement — ideal if finished or semi-finished. Climate controlled year-round
  • Spare bedroom — works if you have the floor space
  • Covered patio/balcony — outdoor option if covered from rain and wind
  • Worst Locations

  • Carpet — the mill can snag and damage carpet fibers. If unavoidable, place a rubber mat under it.
  • Upstairs with thin floors — vibration transfers to the room below
  • Direct sunlight — overheats the dog and degrades materials over time
  • Tight spaces with no airflow — dogs overheat quickly. You need a fan.
  • Floor Protection

    Place a rubber mat under the slatmill. This:

  • Prevents floor scratches (especially on hardwood or laminate)
  • Reduces vibration and noise
  • Stops the mill from sliding during use
  • Protects concrete from wear marks
  • A horse stall mat (available at farm supply stores, ~$40) works perfectly.

    Assembly

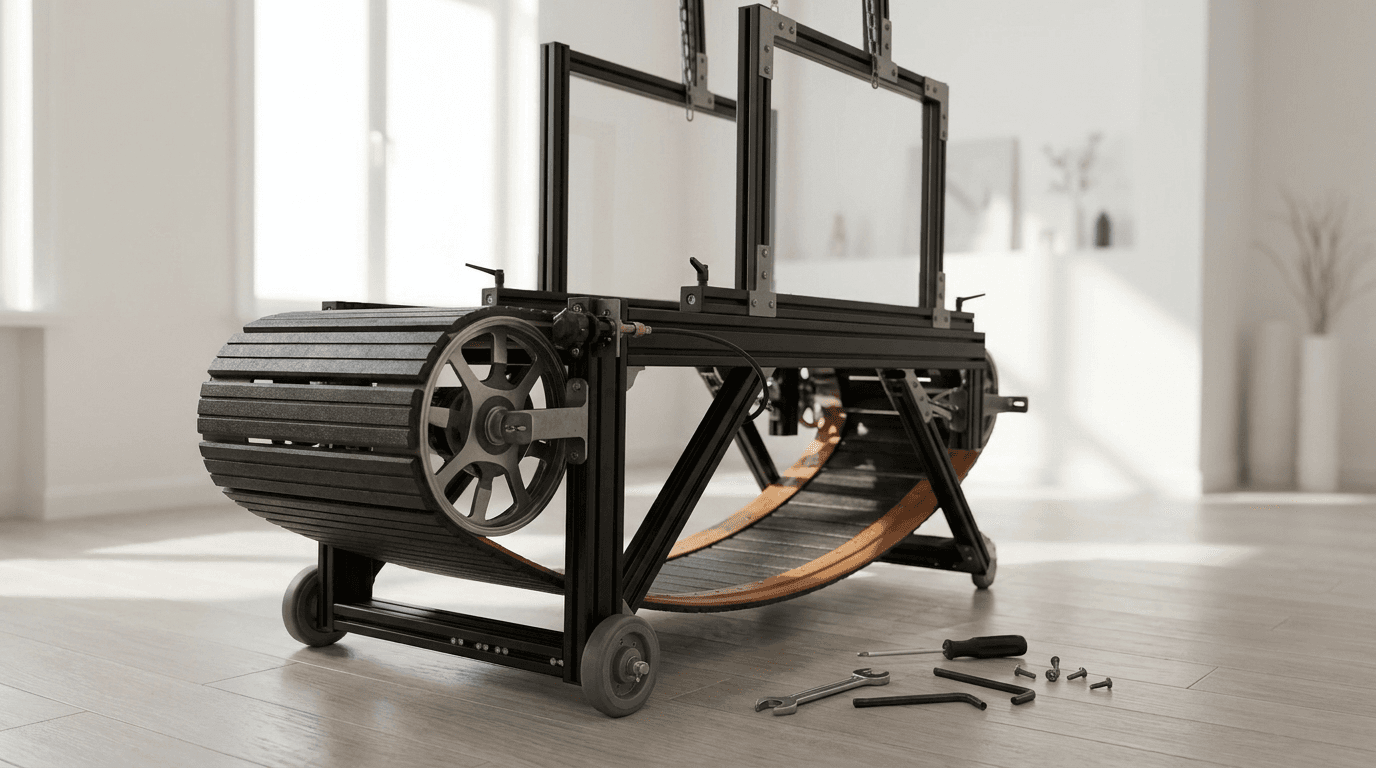
    Most slatmills arrive partially assembled. Typical steps:

    1. Unbox and inventory parts. Check everything against the parts list before starting.

    2. Attach the side rails to the base frame. These are the panels on each side that keep the dog centered.

    3. Attach the harness bar (the overhead bar where the harness clips in).

    4. Check belt tension. Spin the belt by hand — it should rotate smoothly with light resistance. If it's too tight or too loose, adjust the rear roller bolts in 1/4-turn increments.

    5. Check all bolts. Tighten everything. Re-check after the first few uses.

    Tools typically needed: Allen wrenches (usually included), adjustable wrench, possibly a socket set. Most assemblies take 20-40 minutes.

    Setup Checklist

    Before the first session:

  • [ ] Mill is on a flat, level surface
  • [ ] Rubber mat underneath
  • [ ] All bolts tightened
  • [ ] Belt spins freely by hand (no grinding, no catching)
  • [ ] Side rails are secure
  • [ ] Harness bar is locked in place
  • [ ] Fan positioned in front of the mill
  • [ ] Water bowl nearby
  • [ ] Harness ready (never use a collar)
  • [ ] Treats for positive reinforcement
  • The First Session

    This is NOT a workout. The first session is purely familiarization.

    1. Let your dog explore. Walk them near the slatmill on a leash. Let them sniff it, walk around it. Reward any interaction with treats.

    2. Step on together. Help your dog step onto the stationary belt. Stand beside them. Treat. Let them step off when they want to.

    3. Repeat step-on/step-off 3-5 times. Keep it positive and pressure-free.

    4. If they walk on the belt: Great — but limit it to 1-2 minutes max. Walking pace only. End on a high note.

    5. If they're nervous: That's normal. Don't force it. End the session, try again tomorrow. Most dogs figure it out within 3-5 short familiarization sessions.

    Total first session time: 5-10 minutes including exploration time.

    Common First-Session Mistakes

  • Forcing the dog onto the belt (creates fear association)
  • Letting them run too long because they're excited (overexertion)
  • Skipping the harness (always use one, even for familiarization)
  • No treats (positive association is everything in the first week)
  • Starting without a fan (dogs overheat faster than you expect)
  • After Setup

    Once your dog is comfortable walking on the slatmill (usually within the first week), start the beginner training schedule: 3-5 minutes of walking, 3x per week, building gradually from there.

    Download our free Quick-Start Training Guide → See the full 8-Week Conditioning Program →
    Ready to Get Started?

    The HoundPower Slatmill is built for serious dog owners. Free shipping in Canada.

    Shop Slatmills